Home Lab Hypervisor Manager
Xen Orchestra is needed to manage your XCP-ng server. The web-based interface provides an easy way to control, monitor, and deploy VMs on the server. To install Xen Orchestra, go to the IP or FQDN of your XCP-ng server and pull up the page. You will see there an option for Quick Deploy as shown below. XCP-ng can be also managed by XCP-ng Center installed on a Windows machine somewhere in your network. XCP-ng Center is a great client that can be downloaded from here.
Installing Xen Orchestra (XOA)
Browse out to the web interface of your XCP-ng host IP address and click on Quick Deploy option on the page.
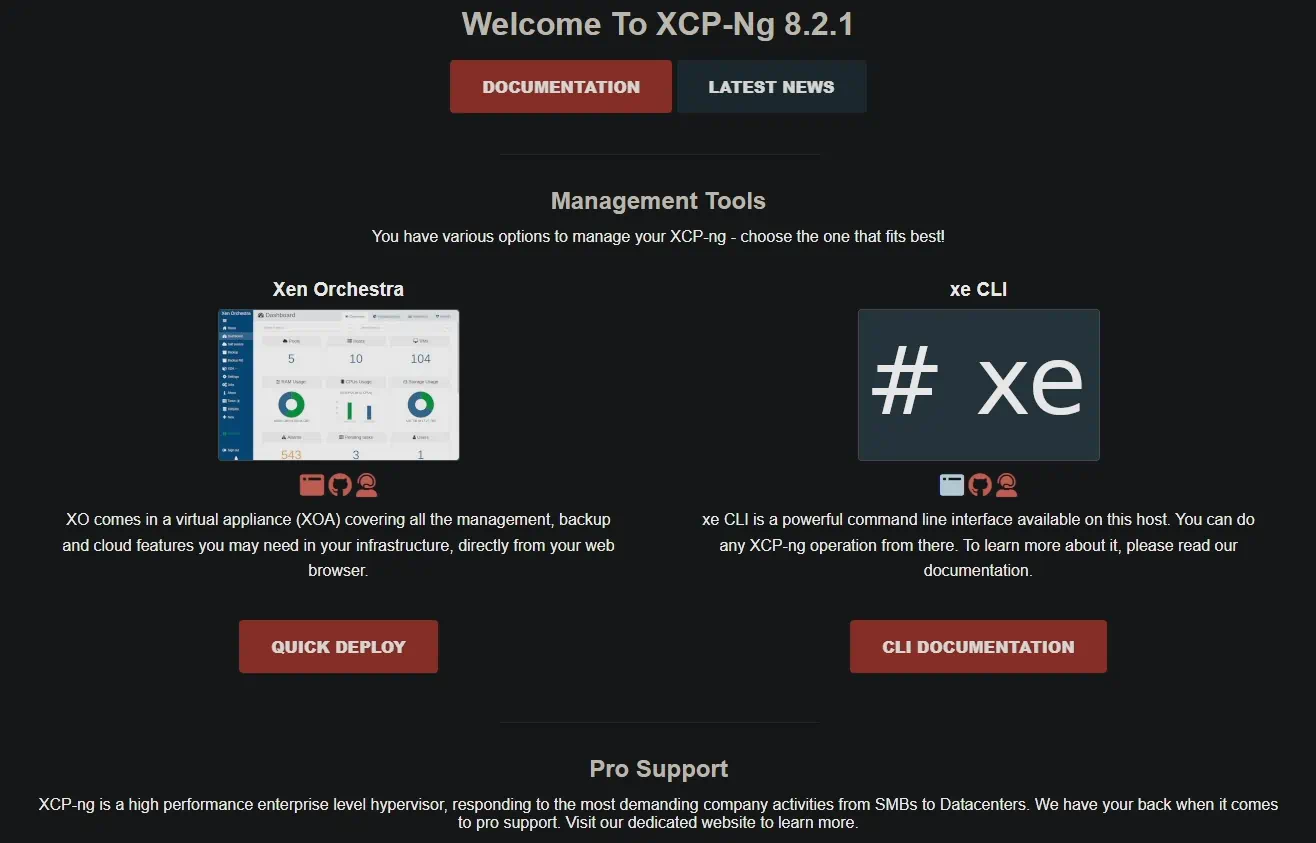 Browse out to the web interface of your XCP-ng host IP address
Provide root password to the XCP-ng server.
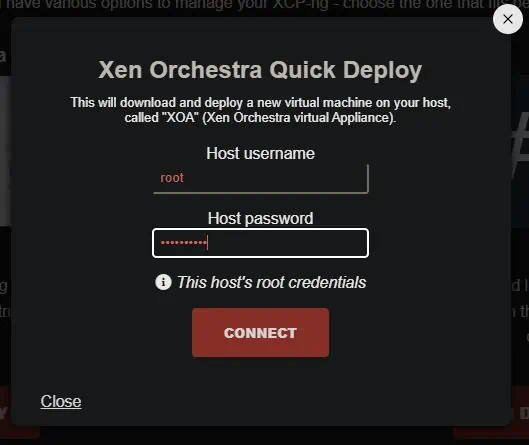 Provide XCP-ng hypervisor password in order to deploy Xen Orchestra (XOA)
Select where to store XOA virtual disk, give it an IP address, sat an admin user and password, then set master password of the VM OS.
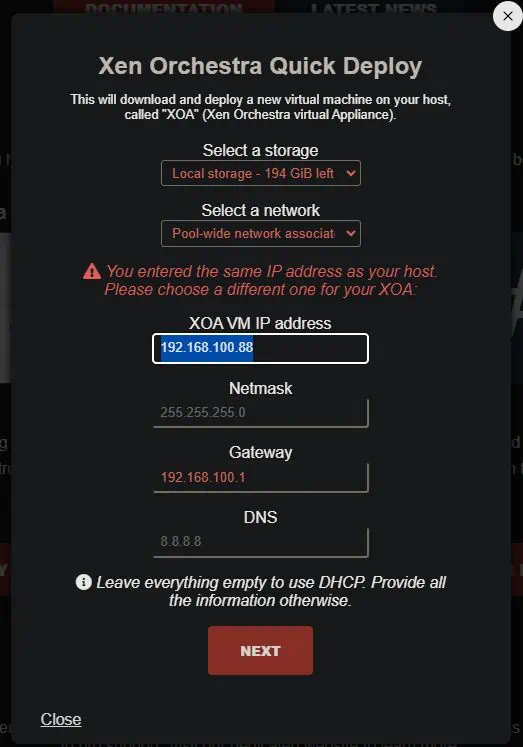 Configuring the Xen Orchestra (XOA) VM location and network
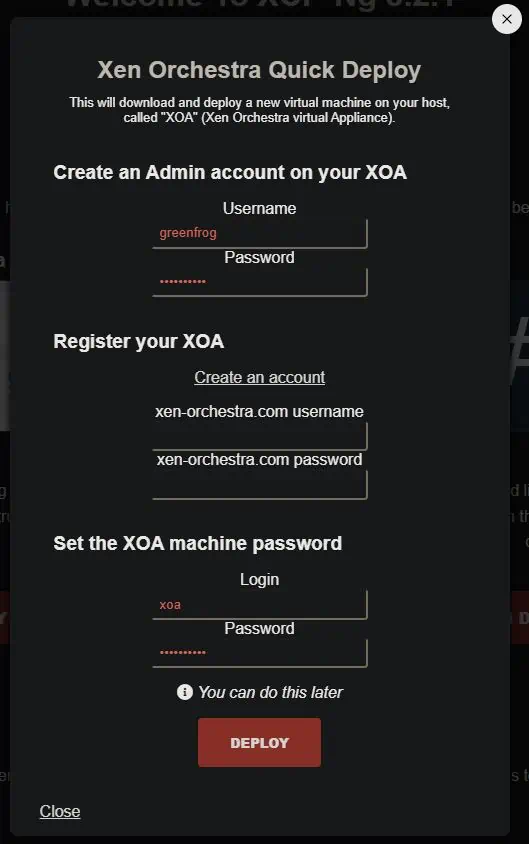 Set Xen-Orchestra user credentials
After Xen Orchestra (XOA) VM is deployed, browser will redirect itself to the login screen.
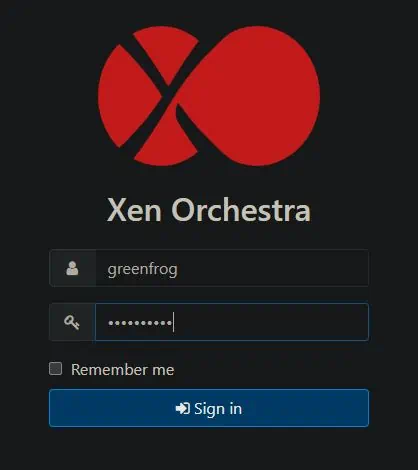 Login to Xen Orchestra
After successful login, XCP-ng server can be managed using browser from anywhere.
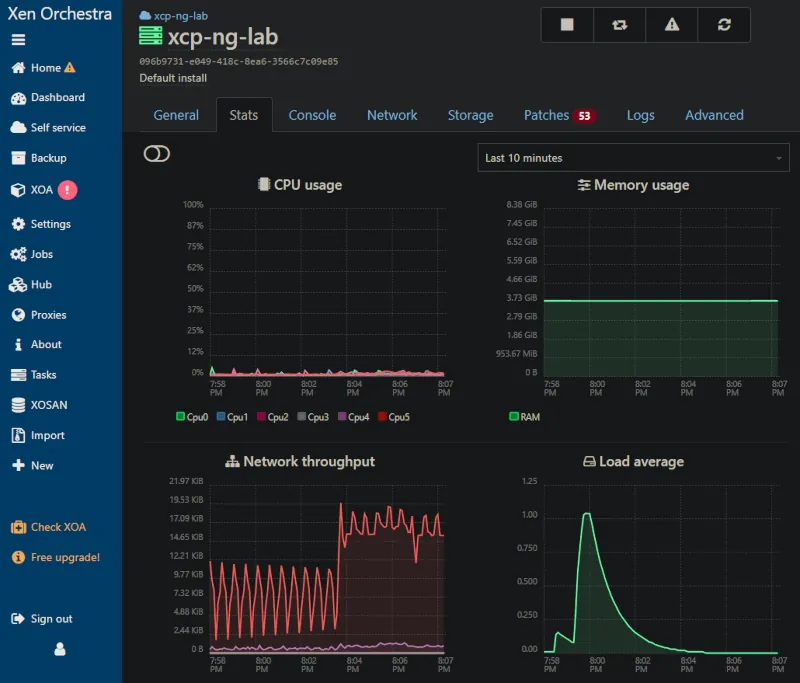 XCP-ng host statistics
Installing XCP-ng Center
There is an alternative to the XOA virtual appliance. In case your host is limited on RAM you might want to save its resources for other VMs and manage it using external client installed locally on your laptop, this way XOA VM can be deleted or never even installed. This alternative is called XCP-ng Center. Recent release can be downloaded from here
Simply download last version and install on your Windows machine. After successful installation add XCP-ng servers you want to manage.
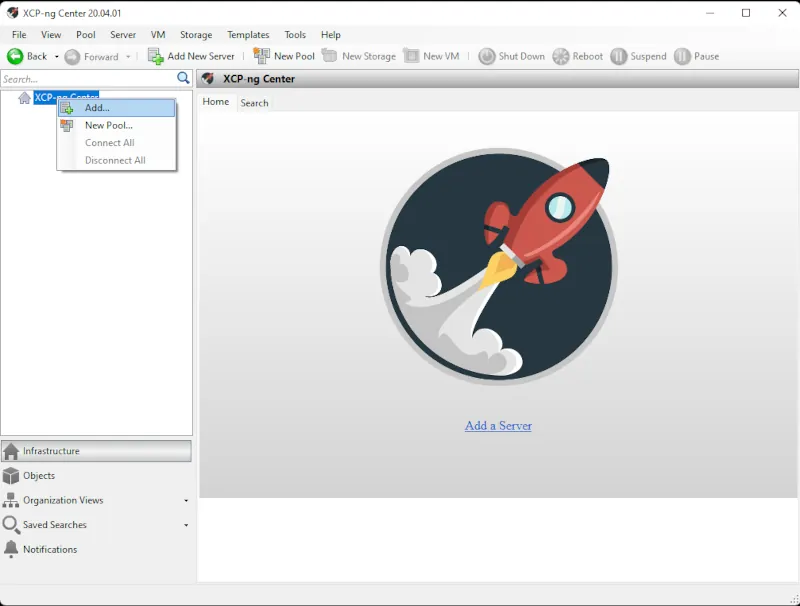 Adding XCP-ng host to XCP-ng Center
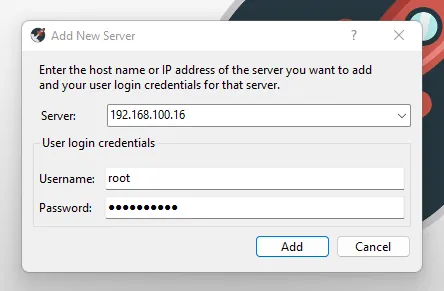 Connecting XCP-ng host to XCP-ng Center
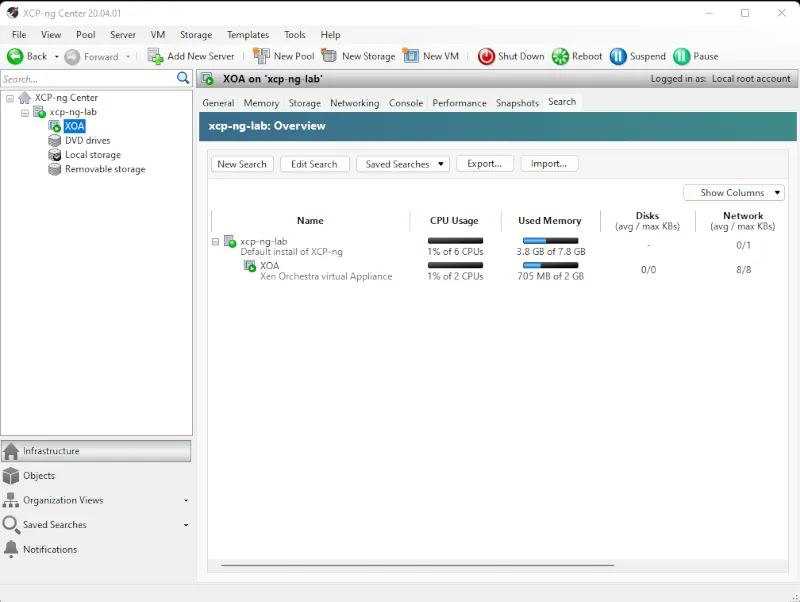 XCP-ng Center main screen
Help me make LMDS better
With your support anything is possible
- Beginner
- Objectives
- Concept
- Hardware
- Hypervisor
- Hypervisor Manager
- Hypervisor Initial Config to be continued...
- Advanced
- My Quiet Lab
- Active
- Depreciated


