Home Lab Hypervisor
XCP-ng is an excellent hypervisor to utilize in a Home Lab environment. XCP-ng is little closer to a VMware rather then Proxmox architecture. Xen Orchestra management tool web interface allows fairly easy management of your hypervisor server remotely. There is also a Windows based client called XCP-ng Center that can be downloaded from here on Github
XCP-ng allows you to host a virtual machines and offers flexibility and scalability with many enterprise features like cloning, built-in backups, snapshots, XO SAN, etc.
Beyond the initial hardware cost and estimated power consumption bills. You can download XCP-ng for free, install it on your Home Lab hardware in a few minutes, and start creating your first virtual machines.
Download XCP-ng from here: XCP-ng and make of it a boatable USB using Rufus or balenaEtcher
XCP-ng Installation
Download the latest stable XCP-ng release. Once you've got it on a USB drive, boot up your server of it and follow the instructions below.
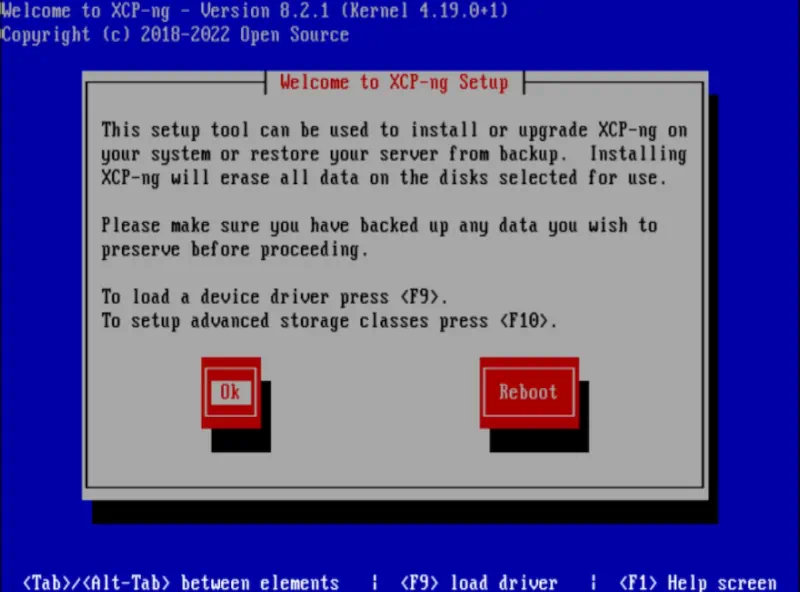 Booting from the XCP-ng ISO
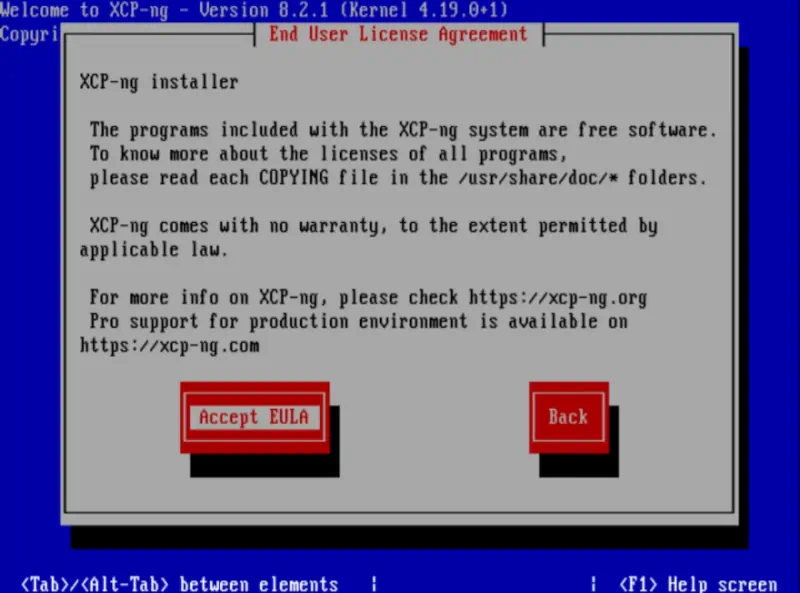 Accepting EULA XCP-ng
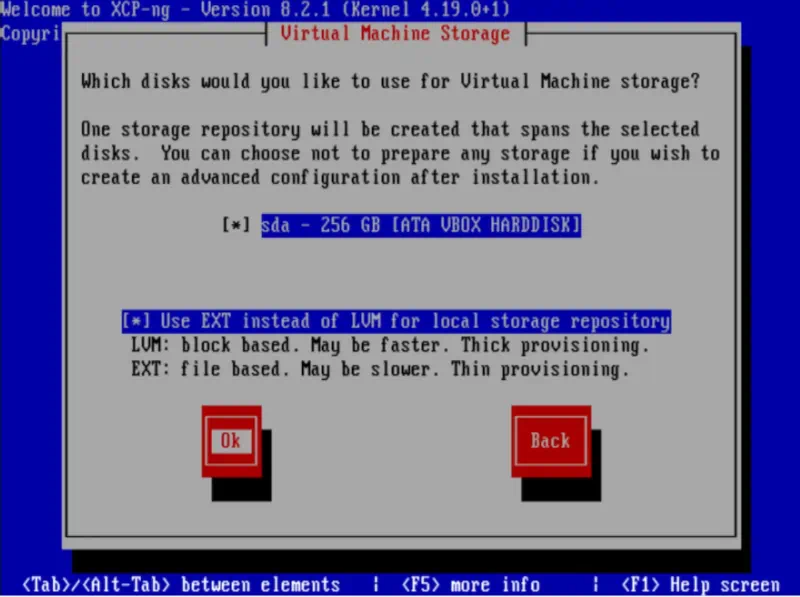
Choose storage device where XCP-ng hypervisor will be installed, if you have multiple drives choose the fastest one. Part of the chosen drive will be locked and used exclusively by the hypervisor and the rest of it will be for Virtual Machines deployment.
You can also choose between LVM and EXT - go with any of these options.
 Choosing XCP-ng boot drive
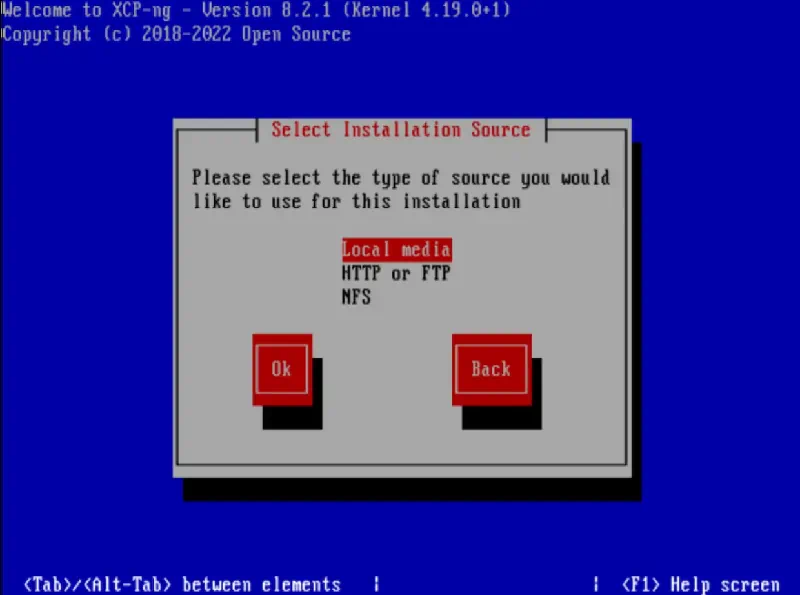 Choosing local media installation source
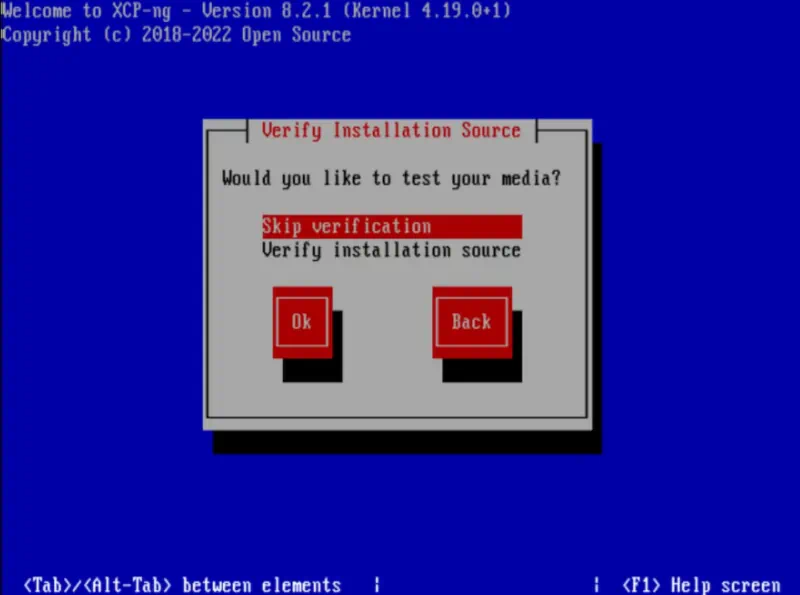 Skipping verification XCP-ng
Setting up your XCP-ng password.
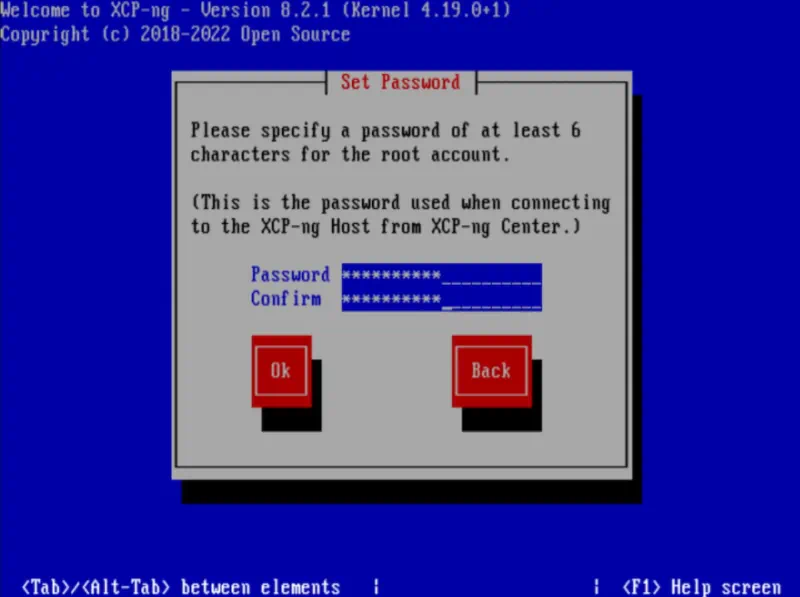 Setting and confirming XCP-ng password
While deploying XCP-ng you will have to decide which network port will be used for management. Connect only one network cable to your server, this way you will know which physical port you are using and select relevant ETH device during installation.
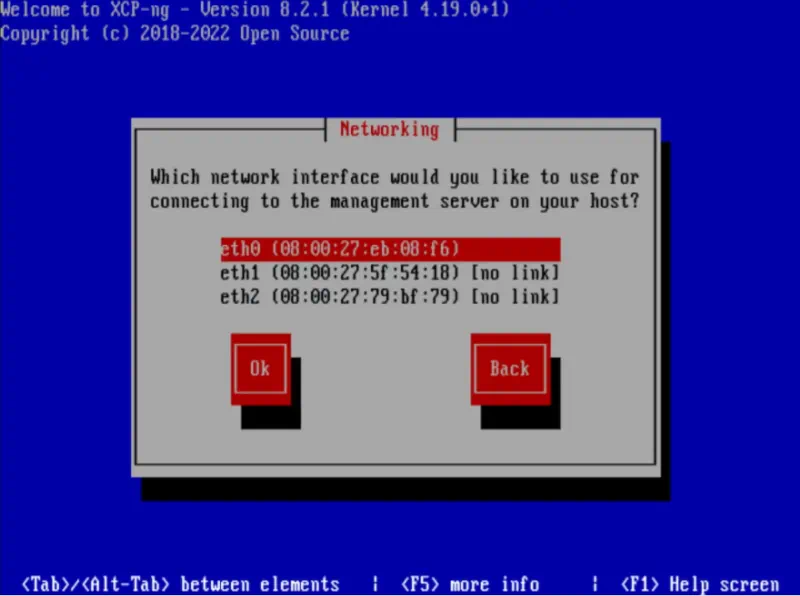 Choosing management ethernet port
Setting static or dynamic IP address. For now you can leave settings as DHCP. You router will give your server appropriate IP that will be display at the screen for you to take a note of it. You can also set a static IP if you already decided on it or use DHCP now and change it later in the webGUI.
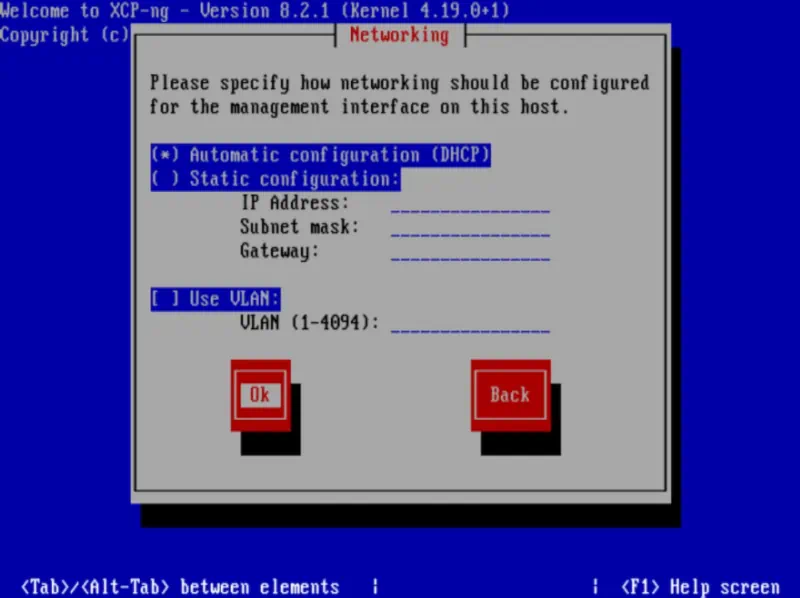 Setting XCP-ng server IP address
Give XCP-ng server a meaningfully name, something of your choice. Set NTP server if you like, you can also leave time settings to server internal clock. List of NTP servers here - find one near you.
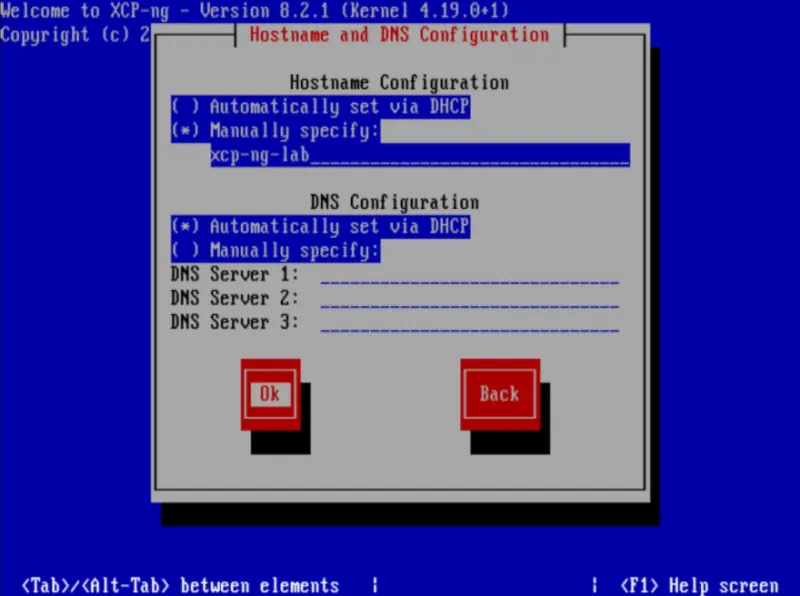 Setting XCP-ng server Host Name
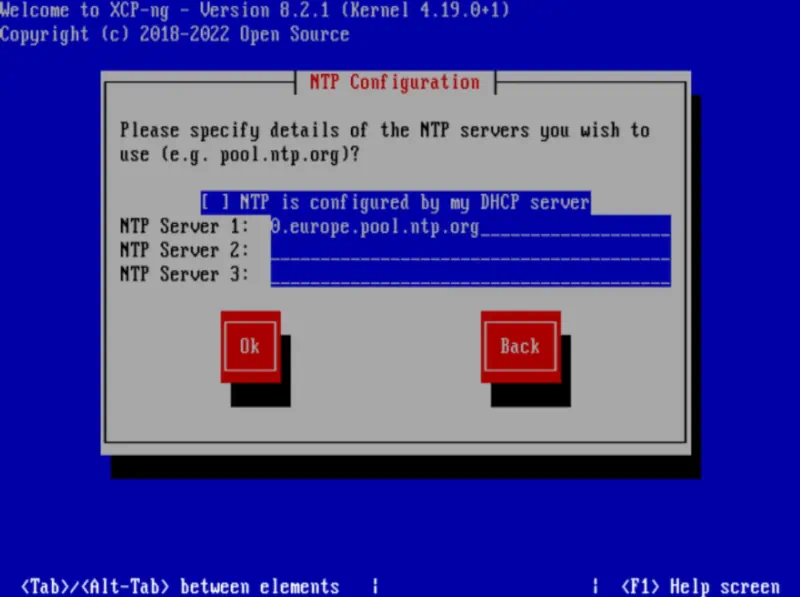 Setting XCP-ng server NTP server
The installation begins.
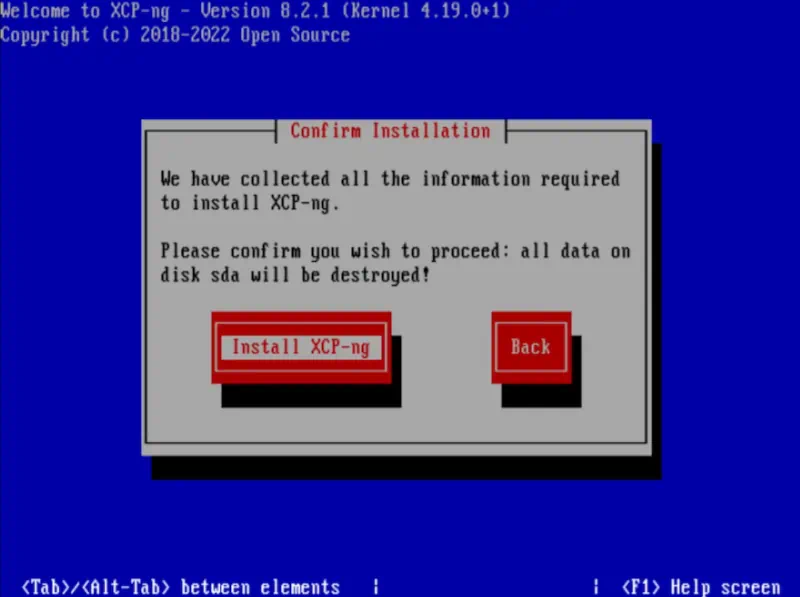 Beginning the installation process of xcp-ng
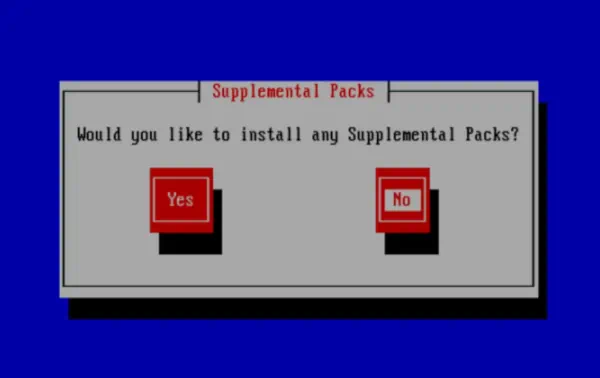 Skip supplemental packages during installation of XCP-ng
Remove the media and reboot the server to complete the installation.
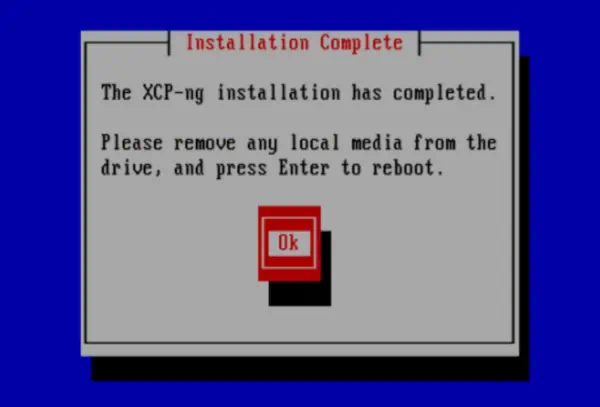 Xcp-ng installation completes successfully
Below is a console view of the XCP-ng server after successful installation. You can see there an IP address that server was given by DHCP or by yourself. We will need this IP now to deploy Xen Orchestra (XOA) management tool.
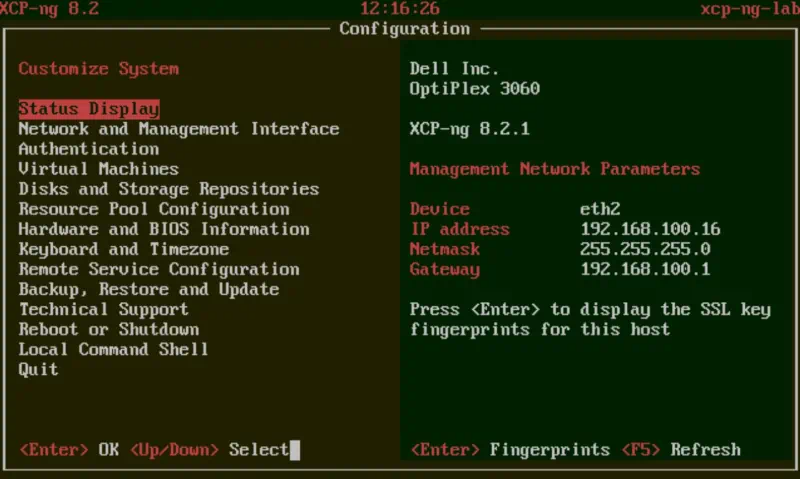 XCP-ng main screen

Help me make LMDS better
With your support anything is possible
- Beginner
- Objectives
- Concept
- Hardware
- Hypervisor
- Hypervisor Manager
- Hypervisor Initial Config to be continued...
- Advanced
- My Quiet Lab
- Active
- Depreciated
Build your own Audiobook streaming system
Article will show you how to build Audible like streaming system based on Booksonic - audiobook streaming server and Subsonic phone app that let you listen audiobooks online anywhere you are.
Go to article